This is the full Undertale walkthrough. Every area. Every boss. All three routes.
We’ll walk you through Pacifist first — because that’s the right order to do things. Then we’ll show you exactly what changes on Genocide so you’re not flying blind.
Before You Start — Which Route Should You Play First?
Play Pacifist first. Every time.
The game was designed to be experienced this way. The Genocide route only hits as hard as it does because you’ve already been through the Pacifist ending. Do it in the wrong order and you’ll miss half of what makes Undertale special.
New to the game? Start with the beginner guide to understand how routes and choices work before you dive in.
What Carries Over Between Runs?
More than you’d expect.
The game remembers your past actions — even after you reset. If you finish the Genocide route, it permanently changes something about every future Pacifist ending on that save file. The game is always watching.
We’ll flag these moments as they come up.
How to Read This Guide
Each area is split into two sections:
Pacifist/Neutral — the full walkthrough with boss tips and key choices.
Genocide notes — what changes and what you need to do differently.
If you’re doing Pacifist, focus on the main section. Skip the Genocide notes until you’re ready.
Area 1: The Ruins
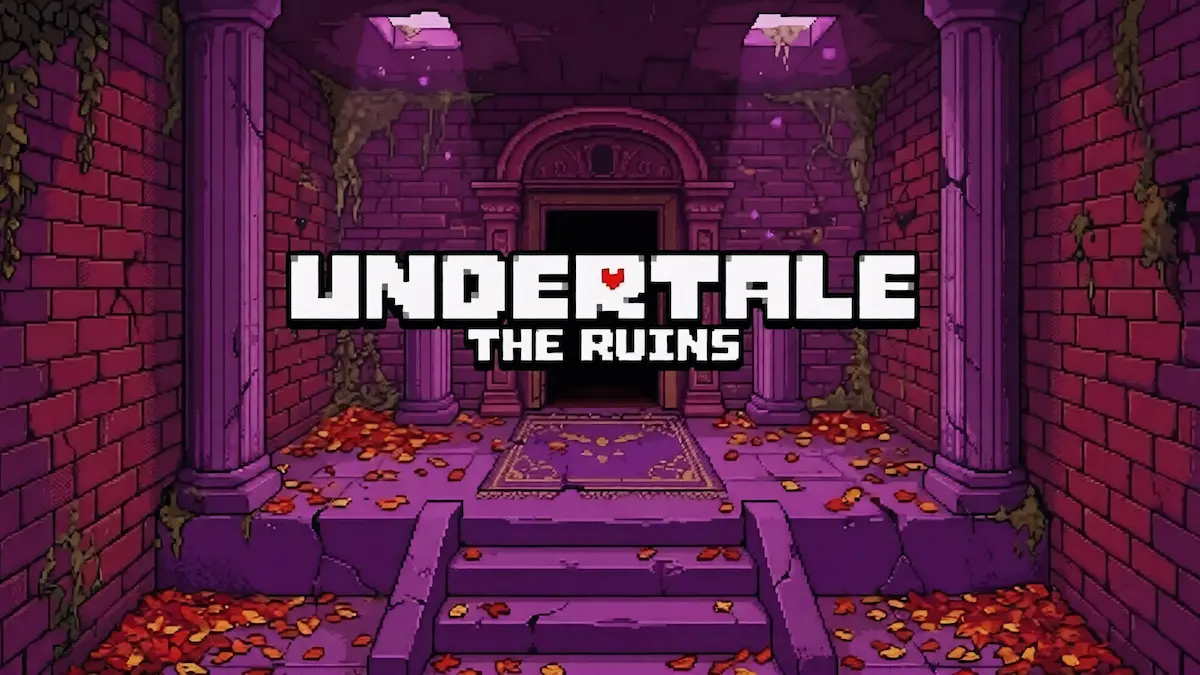
The Ruins is your tutorial. It teaches you the combat system, the ACT menu, and how sparing actually works.
Take your time here. Don’t rush past the monsters — experiment with what the ACT menu does. That habit will save you later.
Key Things to Do in the Ruins
Talk to every Froggit you meet. Use ACT and try “Compliment.” Watch what happens.
When you find the Dummy, you can attack it without any consequences. Attacking it doesn’t kill it — and it doesn’t affect your route. Don’t worry about it.
Don’t pick on Loox. Seriously. Picking on Loox counts as a hostile act and can affect your run. Just use “Don’t Pick On” from the ACT menu.
Don’t hit Whimsun at all. It’s one of the most fragile enemies in the Ruins and it’s very easy to accidentally kill it.
Boss: Toriel

Toriel is the first real boss in Undertale. She’s also one of the most common places new players mess up their Pacifist run.
Here’s the key: don’t try to deal damage to bring her health down. Keep using ACT — specifically “Spare” — over and over, every turn, until the option finally works.
She’ll resist it for several rounds. That’s normal. Keep sparing her. She’ll stop fighting eventually.
Don’t attack her to speed things up. One hit at low health can kill her, and that ends your Pacifist run right there.
After the fight, she’ll let you leave. Follow the path out.
Genocide Notes — The Ruins
You need to kill every enemy in the Ruins before you fight Toriel. The save points will display a kill counter once you’ve triggered the Genocide route. Keep going until you see the message “But nobody came” when you walk into a room.
Kill Toriel. One hit.
After that, Flowey will appear and tell you that you’re not actually human. Then it’s on to Snowdin.
Area 2: Snowdin
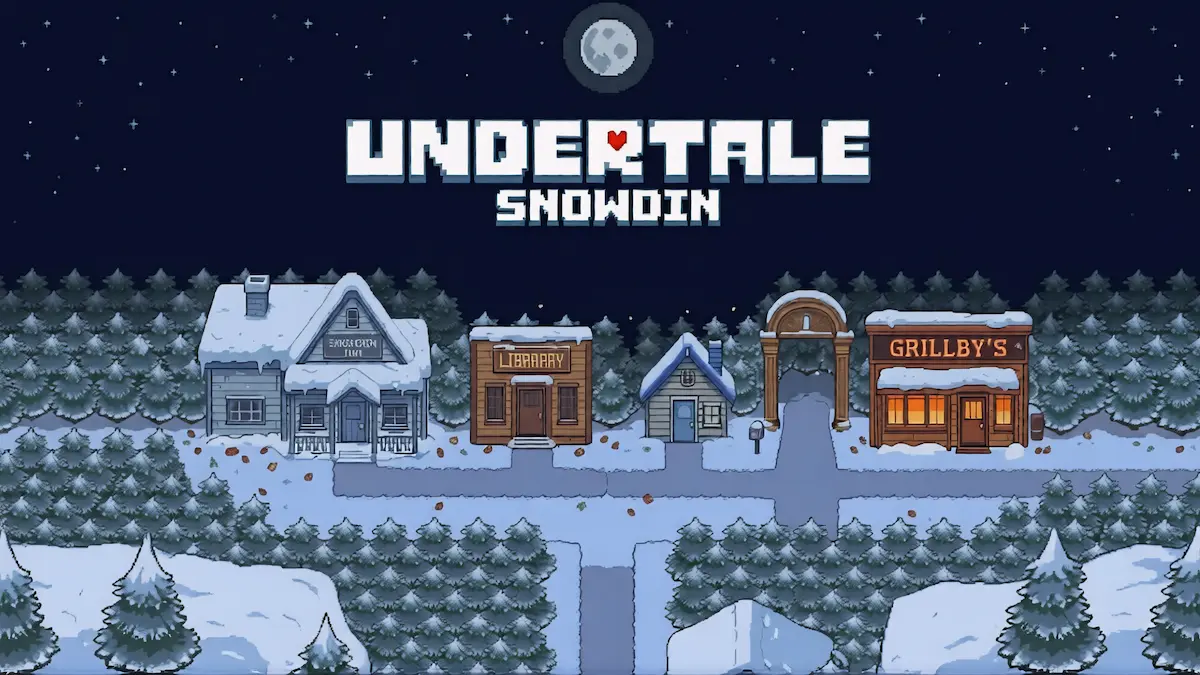
Snowdin is the snowy forest area full of dog monsters and skeleton brothers. It’s also where the game’s tone really starts to show.
Papyrus and Sans are here. They’re impossible not to like — even on routes where you’re doing terrible things.
Puzzles in Snowdin
Snowdin has a bunch of puzzles set up by Papyrus. Most of them are pretty straightforward.
The electric maze puzzle — just move through it carefully. The tiles will light up as you step on them.
The colored tile puzzle — Papyrus walks you through this one. Follow his instructions.
The dog-shaped rock. You push it. It’s a dog. That’s all.
Sparing Monsters in Snowdin
Most Snowdin enemies have simple ACT options:
- Doggo — Don’t move during his attack. He can only see moving things.
- Greater Dog — Pet it. Then pet it again. Then pet it some more.
- Dogi (Dogamy and Dogaressa) — Encourage and Hum in any order.
- Jerry — You can Flee from Jerry without any consequences. You don’t have to spare him and you don’t have to kill him.
Boss: Papyrus

Papyrus is the first boss in Snowdin and one of the most memorable characters in the game.
His attacks involve bones flying across the screen. Blue bones mean you have to stand still when they hit you — moving through them deals damage, staying still doesn’t. This mechanic is explained during the fight.
To spare Papyrus, use ACT and just keep using “Spare” when it becomes available. He’ll eventually capture you and take you to his house. That’s fine — you can escape easily and come back to finish the fight properly.
After you spare him, visit his house in Snowdin town. This is required for the True Pacifist ending. You’ll hang out with him — or go on a date, depending on whether you flirted with him during battle.
Don’t skip this. Papyrus’s full story is one of the highlights of the entire game.
Genocide Notes — Snowdin
You need 16 kills to clear Snowdin. The save point will show you the counter.
One important tip: you do not need to kill Jerry. Flee from him every time. He has high defense, deals barely any damage to your run count, and isn’t worth the time.
Once you hit “But nobody came” in every room, head to Papyrus. He’ll spare you immediately during the fight. Kill him anyway. One hit.
The town will be empty. Every shop item is free — you can also grab over 700G from the shop register if you want it.
Area 3: Waterfall
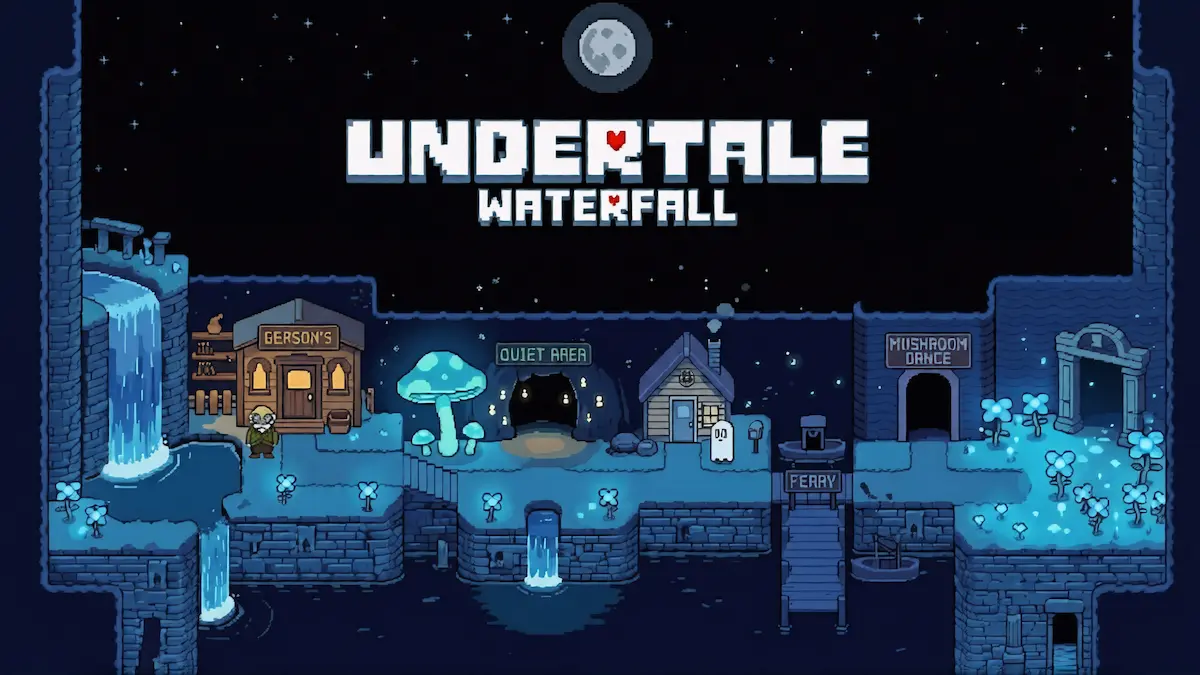
Waterfall is where the game shifts. The glowing plants, the echo flowers, the dark caves — the atmosphere gets serious here.
The story also starts moving faster. Pay attention to what the echo flowers are saying. Some of them are telling you something important.
Key Moments in Waterfall
There’s a telescope you can look through partway through the area. Look through it twice. Trust us.
The bridge seeds puzzle — you throw seeds into the mud to make platforms. The order matters but the game gives you hints nearby.
You’ll spot a figure in a rainy room watching you. Don’t panic. Keep moving.
Sparing Monsters in Waterfall
- Aaron — Flex back at him.
- Woshua — Clean yourself using ACT.
- Moldbygg — Unhug it.
- Temmie — Just spare it. Temmie is mostly harmless and very confused. You can also visit Temmie Village nearby — it’s worth the detour.
The Undyne Chase
Undyne chases you through most of Waterfall. You can’t fight her during the chase — just run.
At one point Monster Kid falls off a ledge. Catch them. This moment matters.
Boss: Undyne
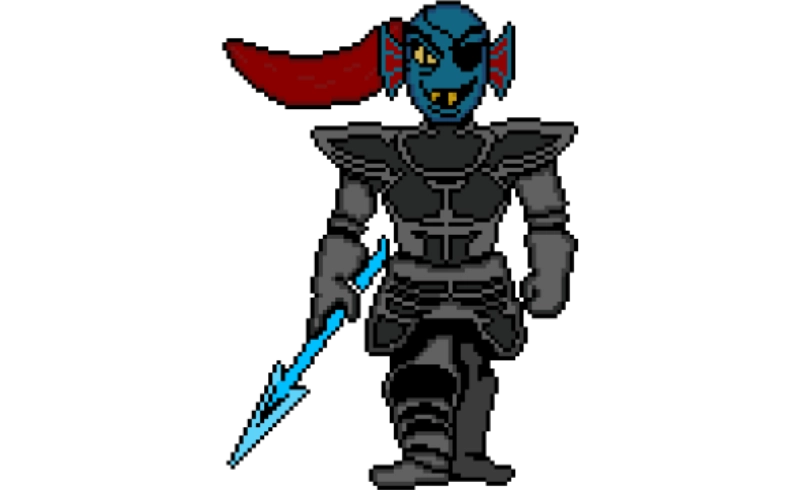
Undyne is one of the hardest bosses in the game on your first run. Her attacks are spear patterns that you need to weave through while your soul is in movement mode.
You can’t spare Undyne mid-fight the normal way. You have to keep running from her after each round — she’ll keep chasing you until you reach the area entrance to Hotland, where she collapses from the heat.
This is the most important step in the entire Pacifist run: when Undyne collapses, grab the bucket of water near the cooler and pour it on her. If you skip this, you cannot befriend her later. You cannot get the True Pacifist ending. Do not save the game before you do it.
After the Undyne fight, go to her house in Waterfall to hang out with her. Papyrus will be waiting outside. This is required. Undyne’s full story and why this moment hits so hard is in the character guide.
Genocide Notes — Waterfall
You need 18 kills to clear Waterfall.
Undyne will still chase you — but with your Genocide stats, she’s not a threat during the chase. The monster kid cliff scene plays out differently here. The outcome changes what happens next.
After clearing the area, Undyne will appear as a special encounter: Undyne the Undying. This is one of the hardest fights in the entire game.
She cannot be spared. You fight her and you win, or you lose. Her attack patterns are faster and more complex than the regular Undyne fight. Stock up on healing items before this encounter.
When she dies, she leaves behind a letter. Pick it up. You’ll need it in Hotland.
Area 4: Hotland and The CORE

Hotland is the industrial zone of the Underground. Lasers, conveyor belts, Alphys calling you constantly on the phone, and Mettaton showing up to make everything into a TV show.
It’s chaotic and fun. Enjoy it.
Key Moments in Hotland
Alphys will guide you through some of the puzzle sections via phone calls. Follow her instructions — they’re accurate.
The cooking show with Mettaton — just throw random items in. Anything works. The outcome is the same.
The MTT Resort is a save point and shop. Stock up on healing items here before the CORE if you’re struggling.
Muffet

Muffet is an optional encounter in Hotland. She’ll fight you unless you have a Spider Donut or Spider Cider (bought in the Ruins or Hotland spider webs for a ridiculous price).
If you don’t have one, you just need to wait out her fight for several rounds — eventually she’ll get a telegram and stop. Don’t attack her.
Boss: Mettaton EX

Mettaton EX is the final boss of Hotland. His show segments lead into this fight.
To win without killing him, you need to raise his “ratings” during the fight. Attack his heart (exposed back), use ACT options, and call your friends on the phone when prompted. Get his ratings to 10,000 and the fight ends on its own.
He can be destroyed by raw damage too, but that doesn’t affect the Pacifist route — just do it the ratings way to be safe.
The True Lab — Pacifist Only
After Hotland, deliver Undyne’s letter to Alphys’s lab. Slide it under the door.
This starts the Alphys date sequence. Follow it through.
After the date, Papyrus will call and tell you to return to the lab. A note on the bathroom wall leads you to the True Lab — a hidden area below Alphys’s lab.
The True Lab is where Undertale gets dark. Really dark.
You’ll face Amalgamates here — fused monsters that resulted from Alphys’s experiments. Each one can be spared. Here’s how:
| Amalgamate | How to spare |
|---|---|
| Memoryhead | Cell, then Refuse |
| Endogeny | Beckon, Pet, Play, then Pet twice |
| Lemon Bread | Flex, Hum, Unhug (any order) |
| Reaper Bird | Mystify, Pray, Pick On (any order) |
| Snowdrake’s Mother | Joke three times |
Find the four colored keys in the True Lab and insert them into their slots to restore power. This is the point of no return for the True Pacifist route. Once you turn on the generator, you’re locked in.
Genocide Notes — Hotland and The CORE
You need 40 kills to clear this zone. It’s the highest count of any area.
Most cutscenes are skipped. Mettaton won’t run any of his shows. The cooking show, the quiz, the news segment — all gone.
Mettaton NEO replaces the Mettaton EX boss fight. He has no attacks. One hit kills him. It feels wrong on purpose.
You don’t go through the True Lab on Genocide. You go straight to the end.
The Endings
True Pacifist Ending
If you’ve done everything in this guide — spared every enemy, befriended Papyrus, Undyne, and Alphys, completed the True Lab — you’ll trigger the True Pacifist ending.
The final confrontation with Asgore plays out differently this time. Toriel shows up. Then everyone else. Then something goes very wrong.
The true final boss is Asriel. He cannot be defeated by conventional means. Use the SAVE option in ACT and call out to the friends you made across the whole game. Each one weakens him a little more.
When it’s over, you’ll see why this is considered one of the best endings in gaming. No spoilers beyond that.
Neutral Endings
If you killed some monsters but not all — and didn’t complete the Genocide route — you get a Neutral ending. Which one depends on who’s still alive.
The most common neutral endings are:
Family Ending — You spared Papyrus and Undyne, befriended both, and killed no one. Papyrus calls you on the phone. Everyone’s okay.
Exiled Queen Ending — You killed Toriel. Undyne takes over and things get grim underground.
King Mettaton Ending — You killed Toriel and Undyne. Mettaton takes the throne. It goes about as well as you’d expect.
There are more Neutral endings beyond these — the outcome depends on a combination of who you killed and who you befriended. See the full characters guide for a breakdown of why each character’s fate matters.
Genocide Ending
The Genocide ending is unlike anything else in Undertale.
To trigger it, you need to clear every zone of every enemy before moving on to the boss. Four zones: the Ruins, Snowdin, Waterfall, and Hotland/CORE. Each one has a kill quota shown at save points. When a room shows “But nobody came,” it’s clear.
Sans is the final boss of the Genocide route. He’s the hardest fight in the entire game — fast attacks, unfair mechanics, and a dialogue that feels like it’s talking to you specifically.
He can’t be spared.
Warning: Completing the Genocide route permanently alters your save file. Future Pacifist endings will be different. Even after a True Reset, something changes. The game tells you this directly before the final moment. You can choose not to go through with it. Most people do anyway.
Quick Route Checklist
True Pacifist Checklist
- Zero kills across the entire run (EXP stays at 0)
- Spare Toriel in the Ruins
- Spare Papyrus and hang out with him after the fight
- Pour water on Undyne after she collapses at Hotland entrance
- Hang out with Undyne at her house
- Deliver Undyne’s letter to Alphys
- Go on the date with Alphys
- Enter the True Lab and restore power
- Complete the True Pacifist finale
Genocide Checklist
- Kill every enemy in The Ruins (counter shows “But nobody came”)
- Kill Toriel
- Kill every enemy in Snowdin (16 kills)
- Kill Papyrus
- Kill every enemy in Waterfall (18 kills)
- Defeat Undyne the Undying
- Kill every enemy in Hotland/CORE (40 kills)
- Kill Mettaton NEO
- Survive Sans
Explore the Full Guide
This hub is your starting point. Every section below goes deeper.
Undertale Guide: Full Walkthrough — Every Area, Boss & Route → Step-by-step guide through every area. Covers all three routes. Includes boss tips, puzzle solutions, and how to avoid missing the True Pacifist ending.
Undertale Guide: Every Character Explained — Story, Lore & Secrets → Every major character broken down — their backstory, their role in each route, and the hidden details most players miss. Includes Frisk, Chara, Sans, Gaster, and more.
Frequently Asked Questions
What happens if I accidentally kill a monster on Pacifist? Don’t save. Quit the game immediately and reload your last save. As long as you didn’t save after the kill, you can redo the encounter and keep your run clean.
Do I have to finish a Neutral run before the True Pacifist ending? Yes. The True Pacifist ending requires you to reach the Neutral ending at least once first — then reload and complete the friendship steps. The game walks you through this automatically.
What happens if I miss giving Undyne the water? If you didn’t save yet, quit the game and reload. If you already saved, you’ll need to True Reset and start over. This is the most common mistake in the Pacifist run — don’t skip the water.
Can I spare Sans on the Genocide route? No. Sans cannot be spared during this fight. The option appears but nothing happens when you select it. You have to win the fight or die trying.
What’s the point of no return for each route? On Pacifist, it’s entering the True Lab — once you restore power you’re locked in. On Genocide, it’s killing every monster in each zone before the boss. On Neutral, there’s no hard lock — what you’ve done simply determines which ending plays.
Does the Genocide route ruin future runs permanently? It changes them — but not destroys them. There’s a specific moment at the end of Genocide where you’re given a choice. That choice is what determines how permanent the effect is. We’re not spoiling it here.